


Targeted application
Apply resin directly to the damaged area, following the kit instructions.

Couldn't load pickup availability
-
Ordered
- - -
Order Ready
- - -
Delivered


A practical resin repair kit for minor windshield chips and cracks—without making a small problem feel like a big project.

Designed to help you treat small chips and surface-level cracks with a focused set of repair essentials.
Apply resin directly to the damaged area, following the kit instructions.
A step-by-step approach for drivers who prefer to handle minor upkeep themselves.
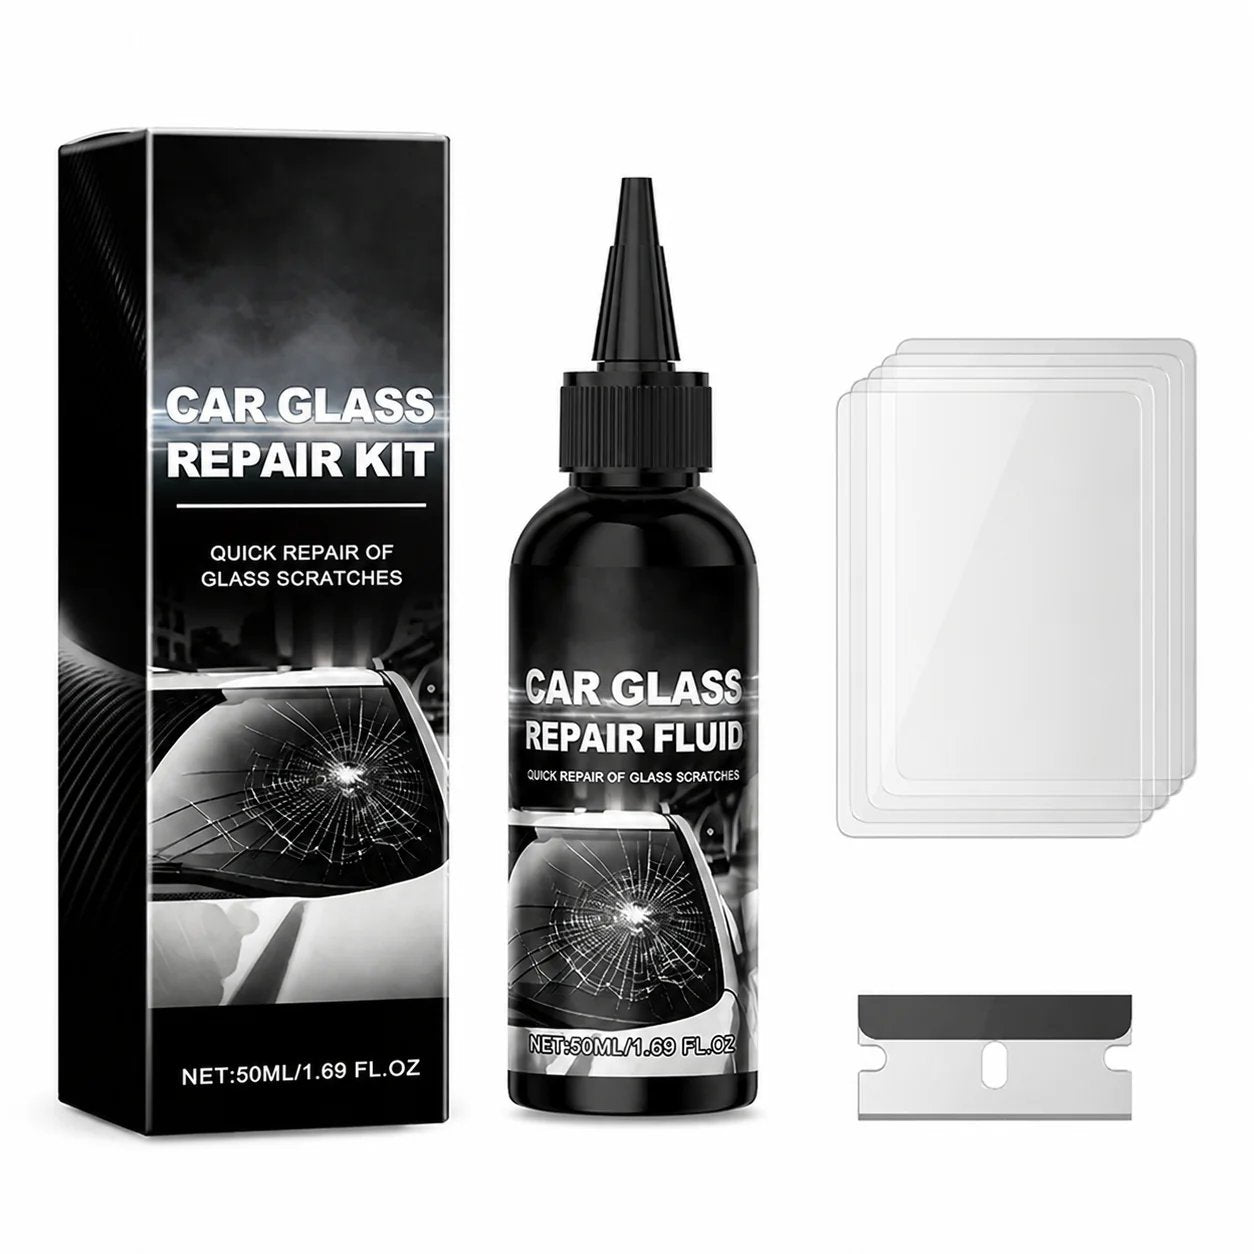
The kit includes repair resin, a blade and curing films for the process.

Temperature changes, road vibration and everyday driving can affect windshield damage. Inspect the area first and use the kit only when the damage is suitable for DIY repair.
Review the product details and included accessories before getting started.
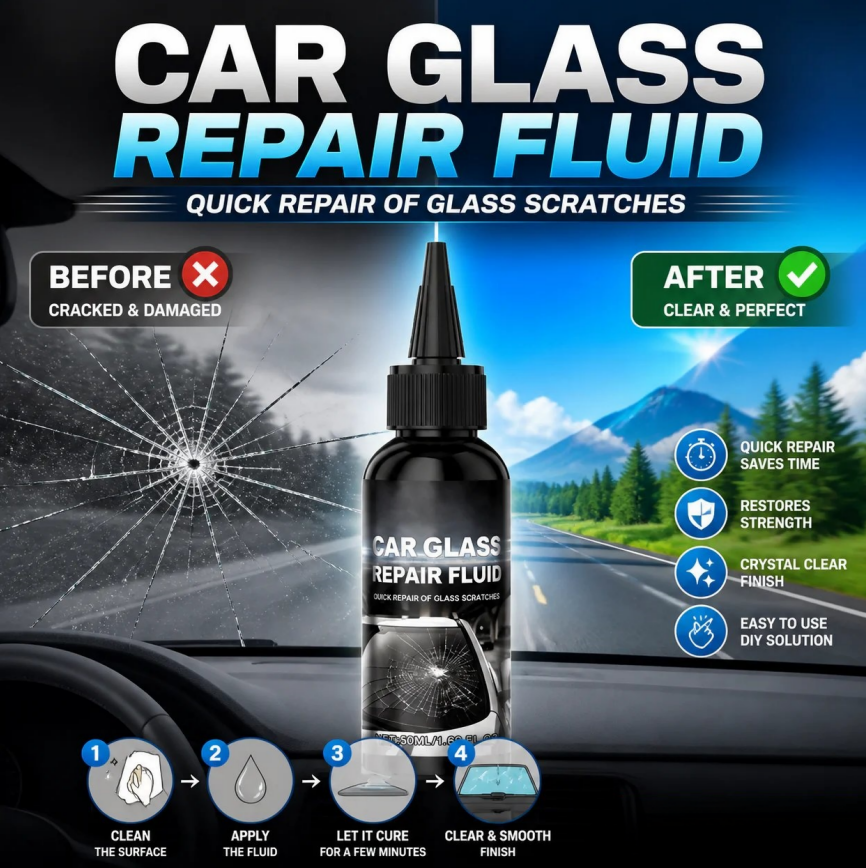


Always follow the instructions supplied with your kit. The steps below are a general guide.

Make sure the windshield is clean, dry and cool before starting.

Carefully apply the repair resin to the suitable damaged area as directed.

Position the supplied film as instructed and allow the resin to cure.

Remove the film and use the included blade as directed to finish the surface.

It is intended for minor chips and cracks. Large, deep, spreading or edge-reaching cracks should be assessed by a professional.
Not necessarily. Results depend on the size, depth, location and age of the damage. The repair may remain visible.
The source product information lists windshield repair resin, a blade and five curing films. Check the selected package details before ordering.
Ensure the windshield is clean and dry, and follow all supplied instructions. Avoid applying the product in unsuitable weather or temperature conditions.
If damage obstructs the driver's view, is near the windshield edge, is deep or spreading, or compromises structural safety, seek professional assessment. Do not rely on a DIY kit for safety-critical damage.
Check the product details and choose the package that suits your needs.